
If you have a development SharePoint site and you need to transfer a file to your production site this is a relatively easy task, however, you will follow different steps if you need to move multiple items at the same time. Please read my post “How to Easily Move Multiple Files Across SharePoint Sites”.
First you will navigate to the report location and select the check box next to the title.
Now select “Download a Copy” from your documents task ribbon.

When asked if you would like to save the file select “Save”. 
Name your file and save as type “BISM File” then select “Save”.
Now navigate to your production site where you want to upload the file. Under your Power View library select “Add document”.

Now browse to the location where you saved your bism file and select “OK”.

If the process worked correctly you will see a message displayed that indicates your document was uploaded successfully. Name your file and select “Save”.

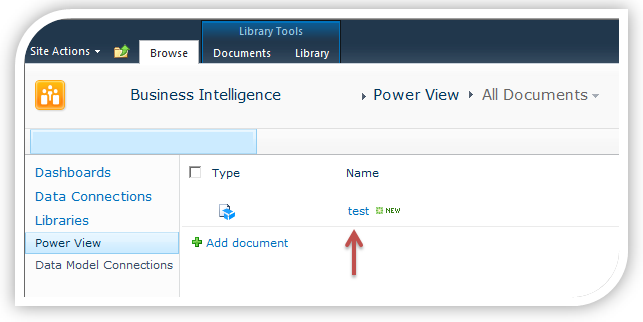
Now you will see your uploaded file appear in your Power View library! Notice that the file Name is displayed for selection, not the file Title that you may have typed in the properties window.
I hope this has been helpful. Please let me know if there are any topics that you think would be beneficial to our BI community.
Thanks for reading and have a great day!

SharePoint has many great features and is very beneficial, as long as you know how to use it. Tutorials such as this one certainly come in handy when someone is looking for advice on something specific.